Yay adult-sized Christmas tree! First one of my very own. Only problem? I am a bit lacking in the ornament department.
It worked out pretty well spreading out the ornaments we had (and some candy canes), especially since we pretended like the back of the tree doesn’t exist. But the sparseness of ornaments gave me an excuse for some more holiday crafting!
Before I get into that, I wanted to mention a funny conversation I had with some friends. I was mentioning this conundrum and how I now had to make ornaments and a friend just laughed and said, “Or you could buy some!” The best part was that that hadn’t really occurred to me. First, I like selecting things that I am drawn toward or have meaning, not just to fill a tree up quick. Second, it’s actually a pretty common occurrence that I can’t find what I want out there to buy. Third (and final, I promise!), that’s just how I was raised – you didn’t buy or replace something unless you REALLY needed to. Depression Era and immigrant grandparents probably had something to do with that. So here is what I made this year!
Cork Reindeer Ornament
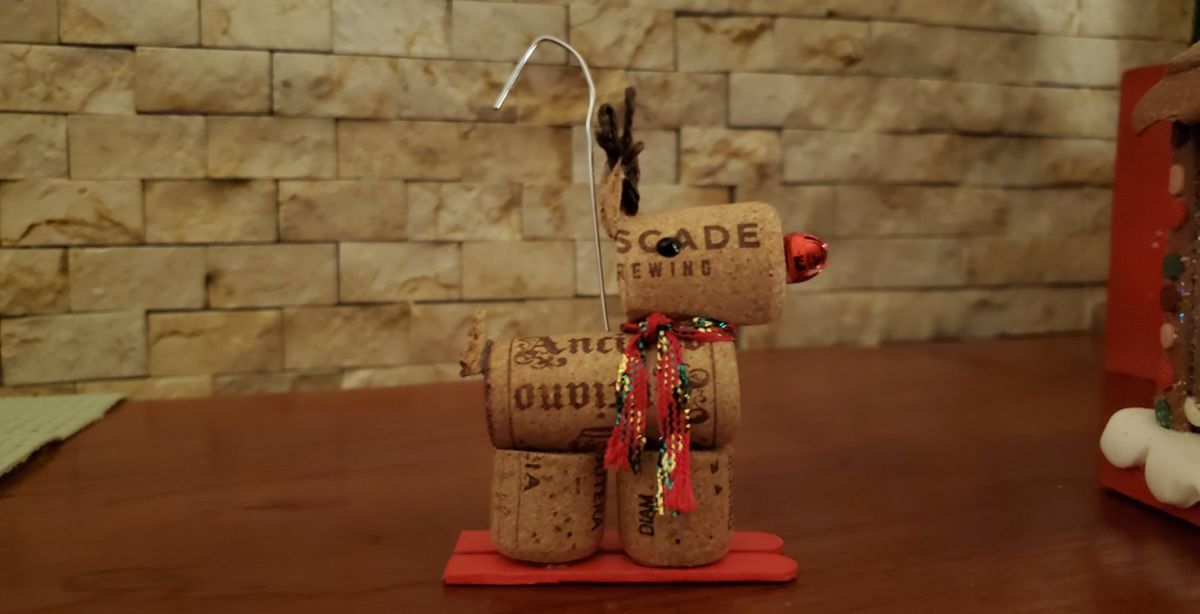
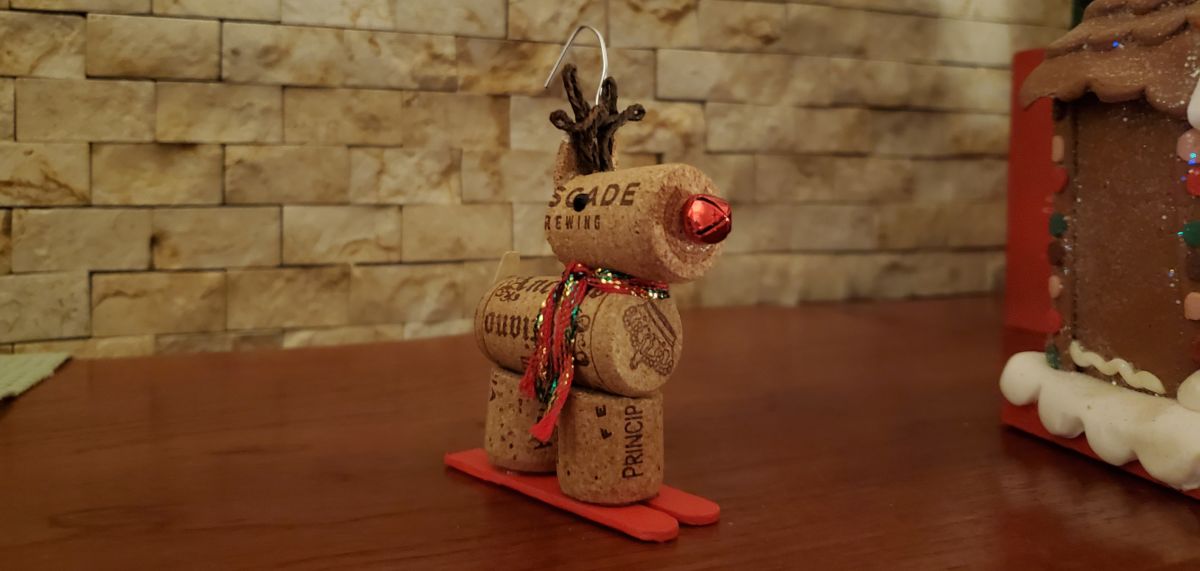
I have been saving wine corks for a long time, but without too clear of a purpose. With a need for ornaments, I figured this was the time to use some of them.
A lot of people seem to be selling these on Etsy, so I mostly looked at versions I liked and then tried to make mine look similar. I based mine off of this cutie patootie:
I cut up a few corks to be the legs, head, ears, and tail. Hot glue worked best for me when attaching them. I used stray materials for the rest. I Mod Podged some twine to make antlers. Little red bells for noses. Ribbons for scarves. Fabric paint for the eyes. And when I saw the popsicle stick skis on the Etsy reindeer above, I just couldn’t resist.
Cork Snowman Ornament
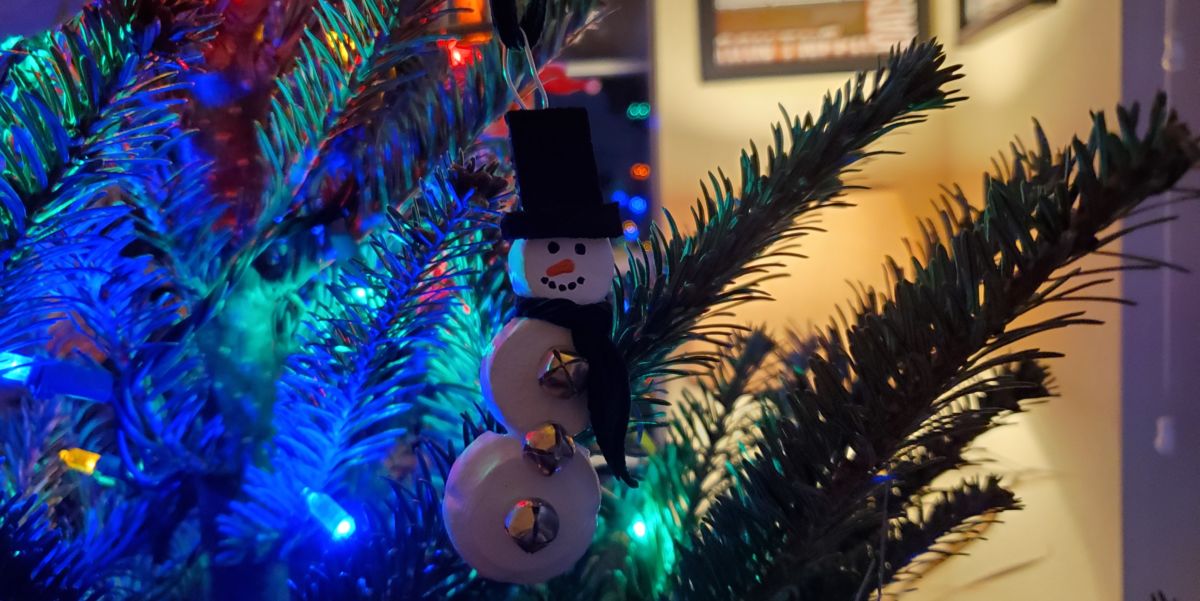
While I was cutting cork, I figured I might as well try a few versions. The other one that worked out for me was snowmen. I mean, corks are just circles – seemed silly not to try.
I cut a number of disks from different types of corks to get a variation of sizes. Then I painted them white. Once again, the hot glue gun came to the rescue for attachment. Little bells worked great as buttons, ribbons worked again as scarves, and fabric paint worked for the face. Then I cut a few more corks to the shape of a top hat, painted them black, and hot glued them on. And presto! Snowmen ornaments.
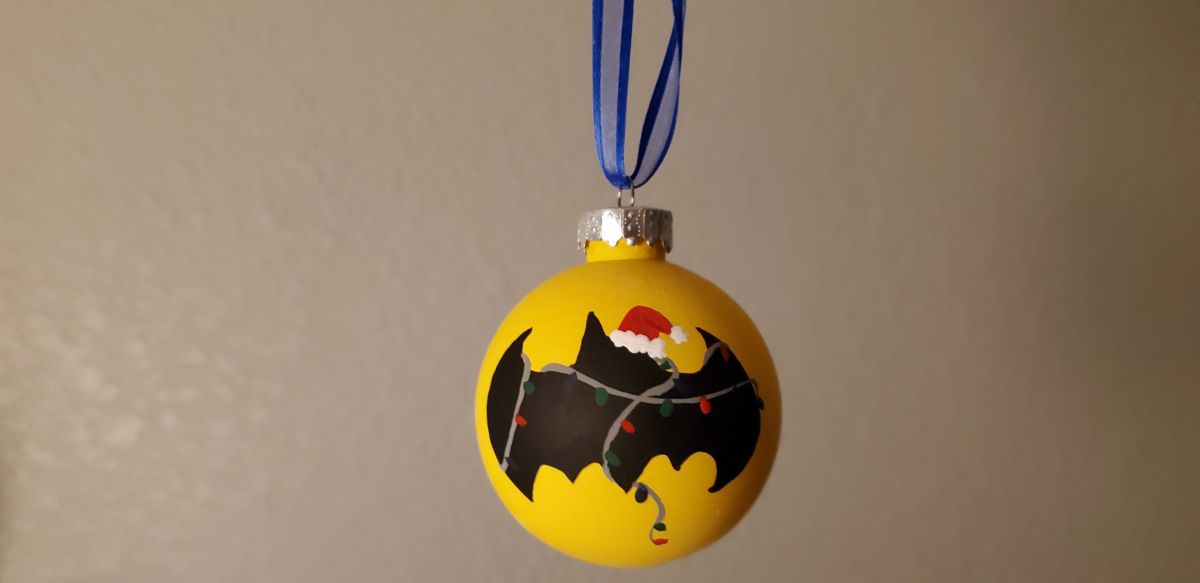
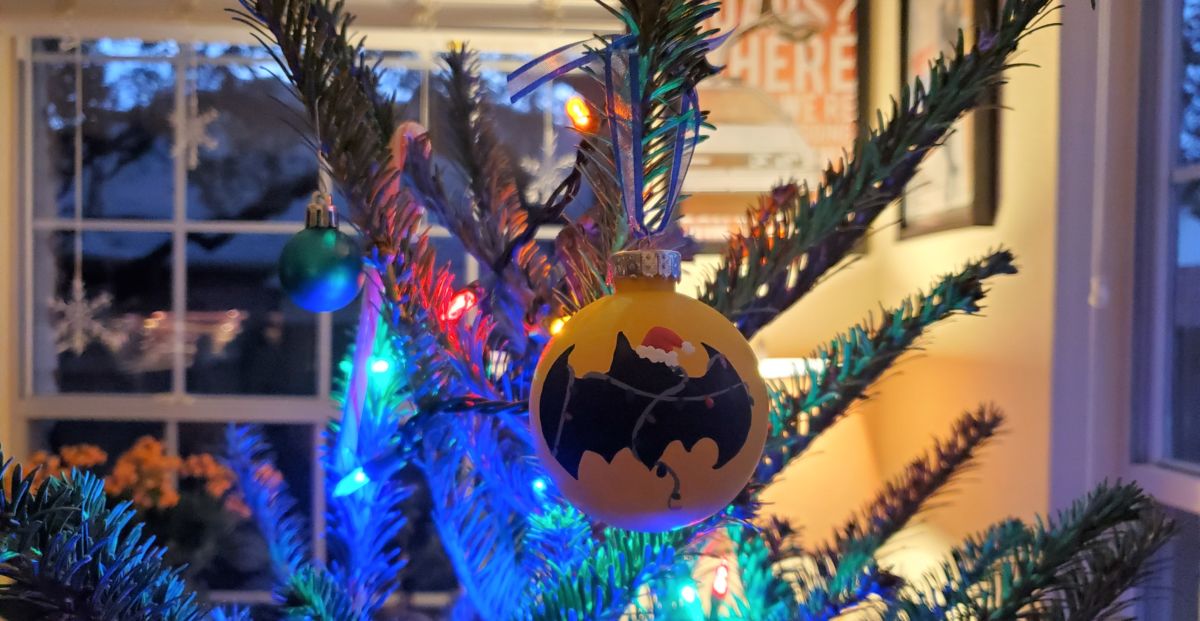
Batman Painted Globe Ornament
A few months back, I bought some plastic, globe ornaments from Michael’s to toy around with this winter. It was merely a question of what decoration to put on/in them. I am a nerd, and my craft room is filled with a lot of Batman paraphernalia (among other nerdy things). The next step was obvious. Na na na na na na na na Batman ornament!
I don’t know if it was the paint I used or what, but word of warning – pouring paint into the globe ornament and swirling it around (versus just painting the outside a color) is a PAIN. It didn’t seem like it at first, but no matter what I tried, the paint kept settling more in some areas than others and needed multiple tries to balance out the consistency. Maybe that’s what I get for using cheapo craft paint. Switching to doing it on the outside was way better.
This Batman ornament was an example of not finding an ornament to my liking. So I made what I was looking for!
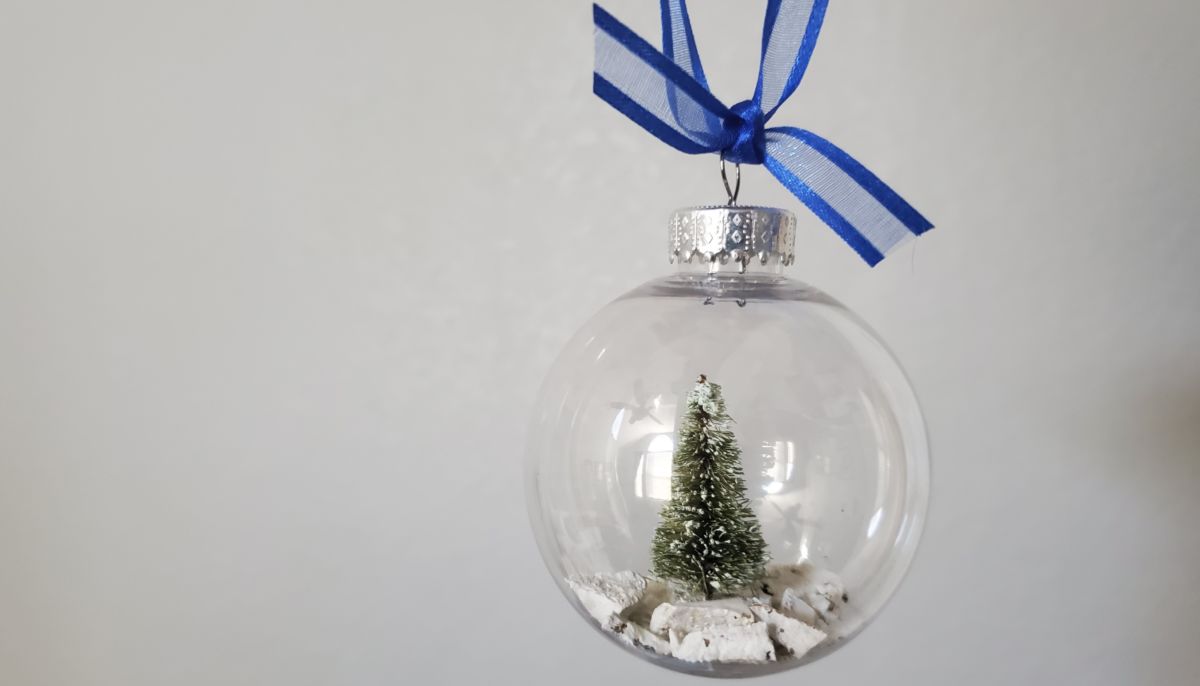
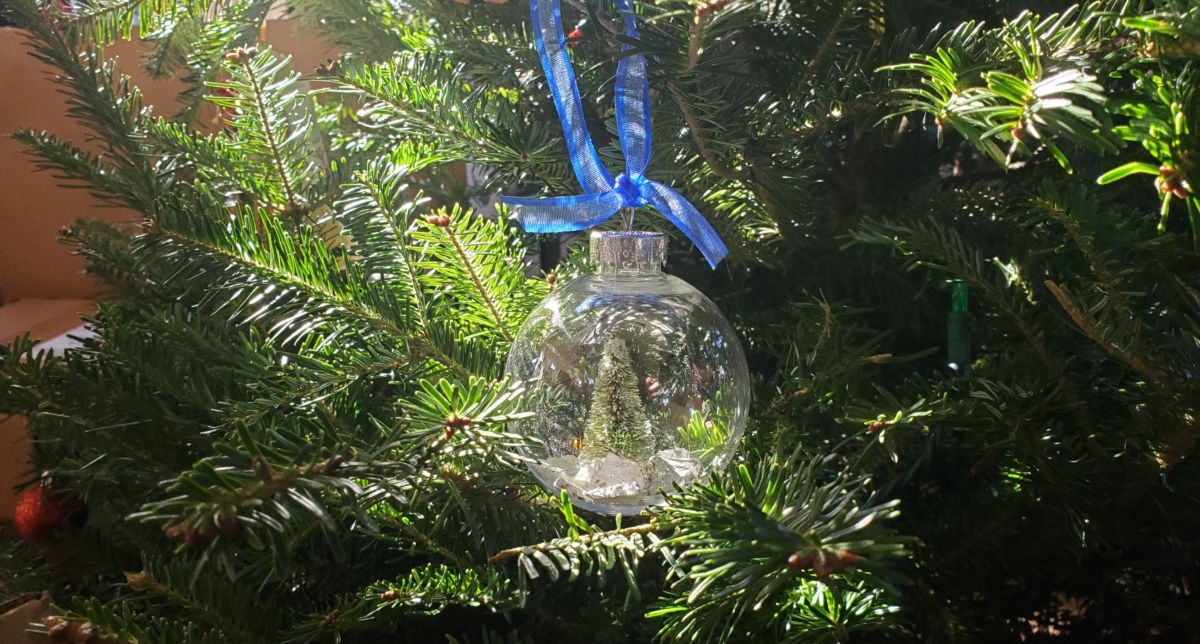
Snow Globe Ornament
I based this cute ornament on the following DIY example: http://blog.darice.com/holiday/winter/snow-globe-ornaments-diy/
Once we’ve gone through all 25 days of Christmas, I’ll be showing off my DIY nerd advent calendar. I bought some little, craft Christmas trees for that project and had some leftovers. The base was wider than the ornament opening which meant slimming it down. Turned out easier than I expected – just pulled out the tree and “replanted” it in some cork!
Snowflake Decoration (or Ornament)
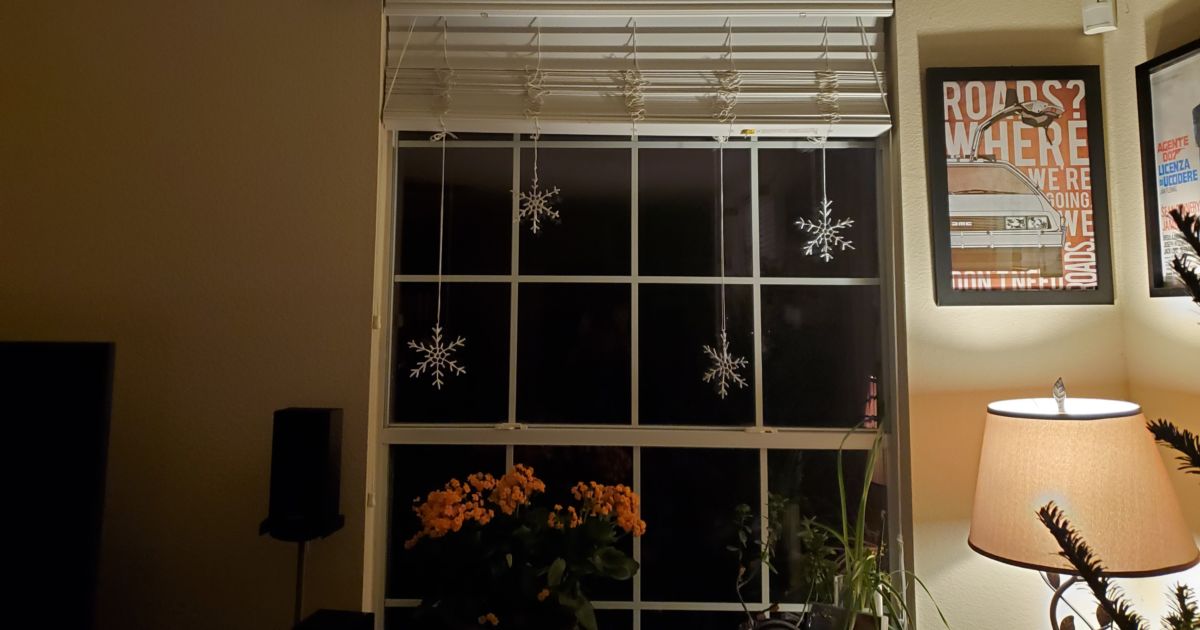
These could be used in a number of decorative ways. Because I miss living where it snows, I chose to hang these from our windows so I can trick myself into thinking winter actually exists here. (Give me a few years – this house is going to be like entering a snow globe!)
As is often my style, I saw a few things on Pinterest that intrigued me and did some conglomeration of them:
https://www.pinterest.com/pin/211317407506631972/ for the larger idea
https://www.eytozee.com/diy-string-star-ornaments/ for the steps to create it
https://thewhoot.com/crochet/crochet-snowflake-pattern for the shape I wanted
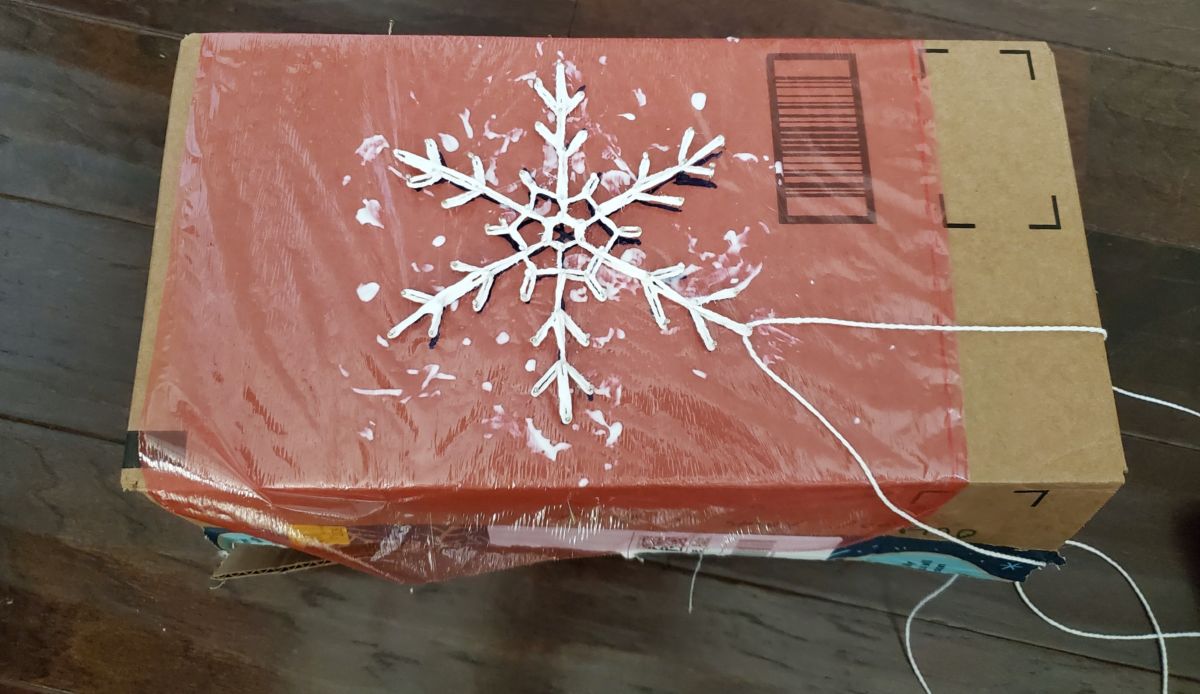
I got messy with some Mod Podge and wound white twine from one pin to the next. I found that drawing out the shape first before putting in the pins was much easier. I also ended up realizing using cardboard for the base (rather than Styrofoam) and a layer of saran wrap helped things not stick together and get gunky. It was a learning curve, but I got my groove!
As you can see below, sometime crafting takes a bit of finesse to stay relatively kitty-free.
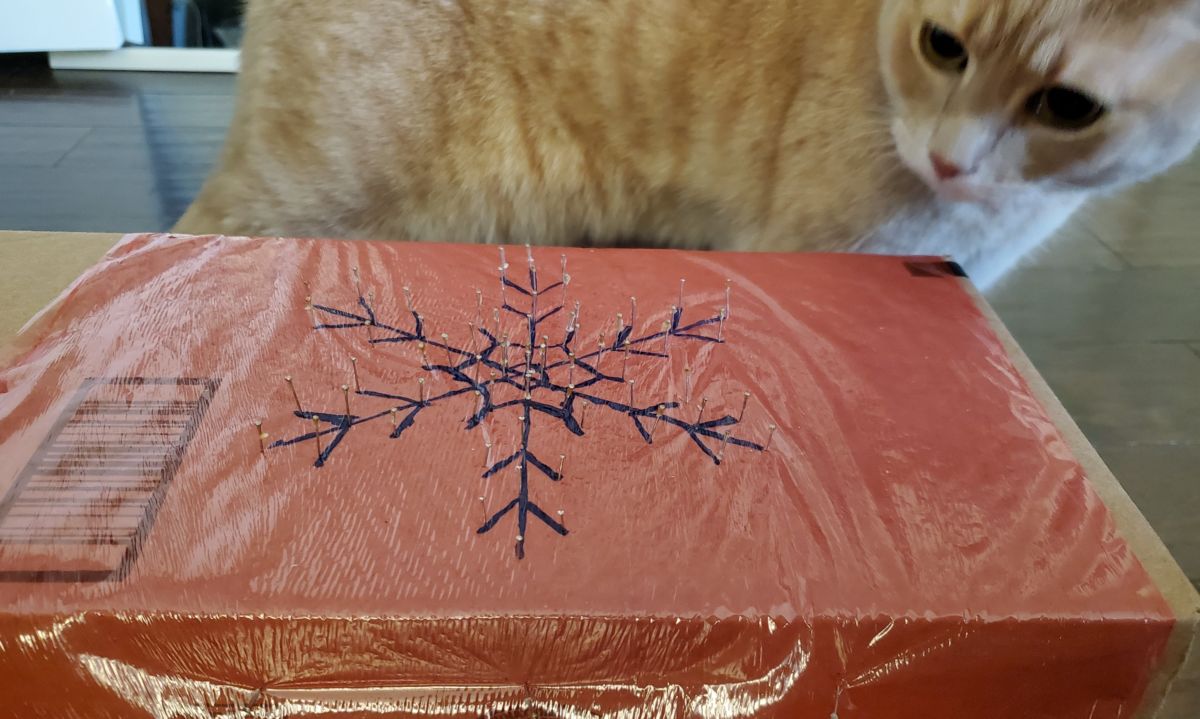
Here’s my end result. I’m still adding to my collection to fill enough windows to get that snowy feel; slowly but surely!
Happy holiday crafting, everyone!
Ada Brown says:
You grew up with Christmas trees that had only ornaments someone in the family had made or store bought ornaments that were gifts to one of us. That was a custom your dad and I came up with when we got married. We crafted all the ornaments on the tree in those first years. Some of them were painted “gum balls” from sweet gum trees, some were origami, some were glue stiffened string stretched over balloons that were popped when the glue dried, etc. When you or your brother brought home a Christmas craft you’d made in school, we hung it on the tree. Your NC grandmother crocheted ornaments and we hung those too.
E Murphy says:
I forgot about the painted gum balls! That’s cool! I didn’t realize that you all purposefully did that. Explains where I get my crafting “moxy” from. 🙂